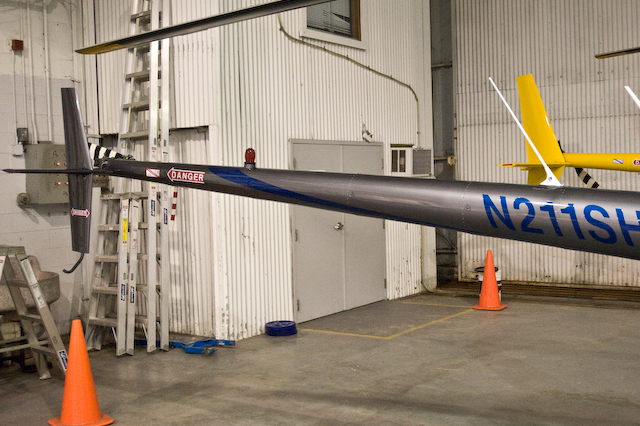
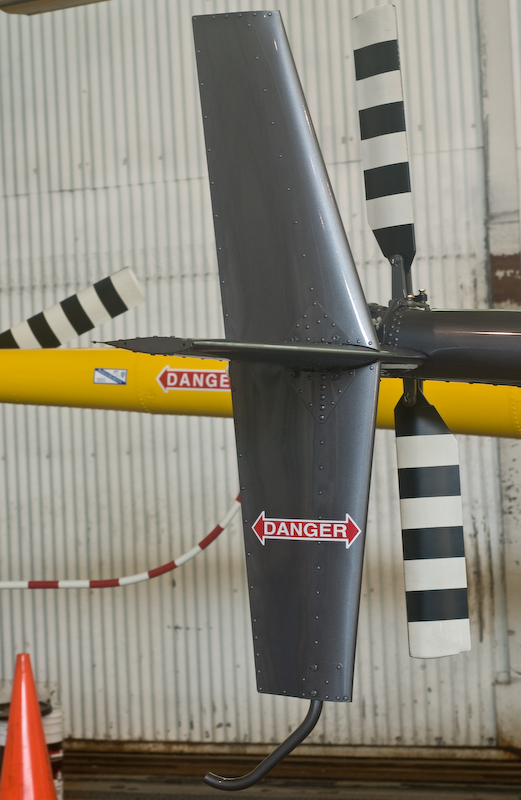
Check the major tail surfaces for cracks and dents. Check that the stinger hasn't been bent.
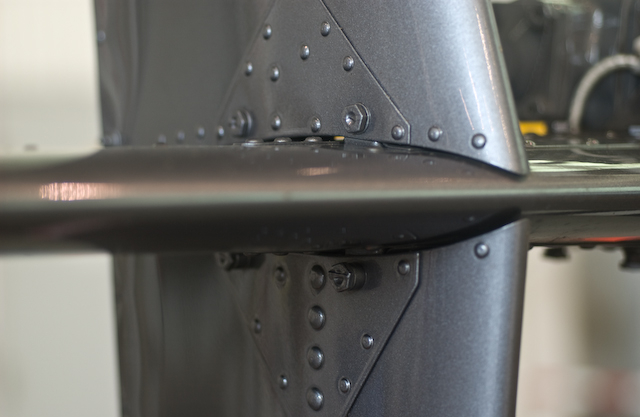
In the above picture, you can see four bolts. Each top bolt is connected to the corresponding bottom bolt with an aluminum strap. Look in the gap to see that they look normal. Give the top and the bottom fin a gentle shake to make sure that they seem firmly attached.
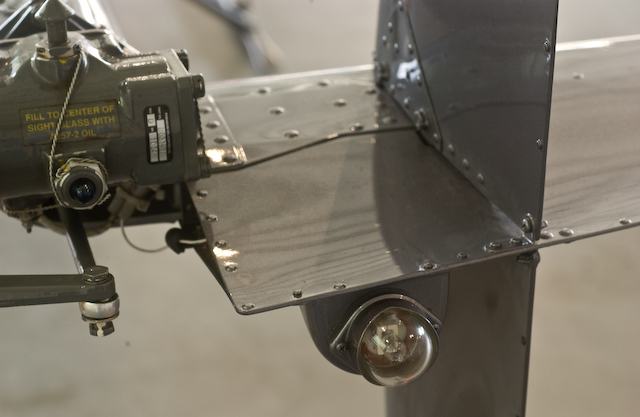
If you look at the corner of the skin to the left of the position light, you will often see it bent down from the way people ground handle the helicopter. You should not be pushing down on the skin to the rear of the tail surface, because it is extremely thin at this point. If you have to push down, it is better to push down using the gearbox, tail-cone, or the forward section of the tail surface where you can see the doubler riveted on.
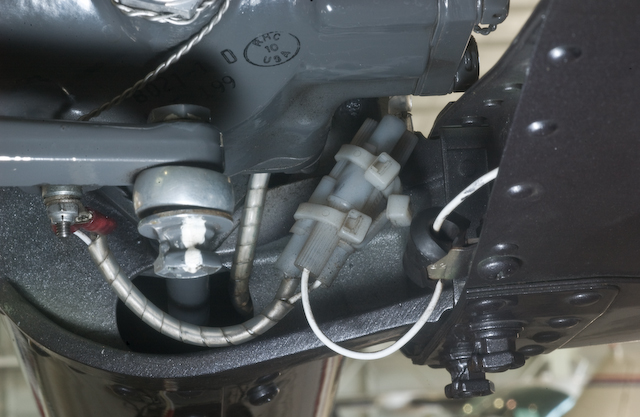
All the tie wraps in this picture are designed to prevent wires from interfering with the tail rotor control. Check them to be sure they are all intact.
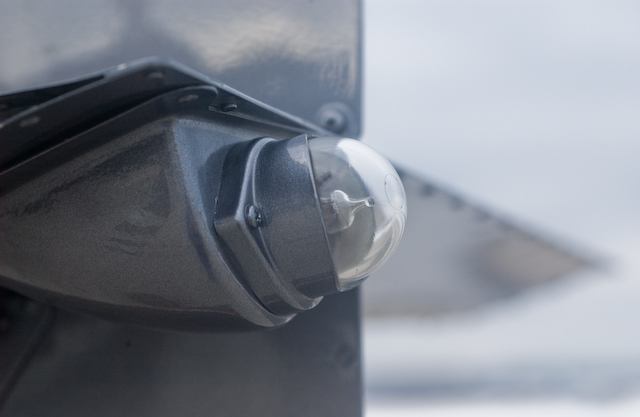
Check that the position light is attached by gently grabbing it in your hand and give it a little wiggle. It is rubber mounted so it will move slightly, but you want to make sure that it feels secure. If you are going night flying, you should turn on the master, turn on the Nav Lights, and check that the position lights (all 3) illuminate.